Should I Remove Popcorn Ceiling? (8 Reasons Why You Should)
Thinking about updating your house? One of the first things you might notice in older homes is the infamous popcorn ceiling.
While it was once all the rage, this textured ceiling treatment can feel a little… dated.
But should you actually remove it? There are some good reasons to say goodbye to that bumpy texture, from aesthetics to health concerns.
In this post, we’ll go over 8 reasons why removing popcorn ceilings might be a smart move
#1 Eliminate Potential Asbestos Hazards
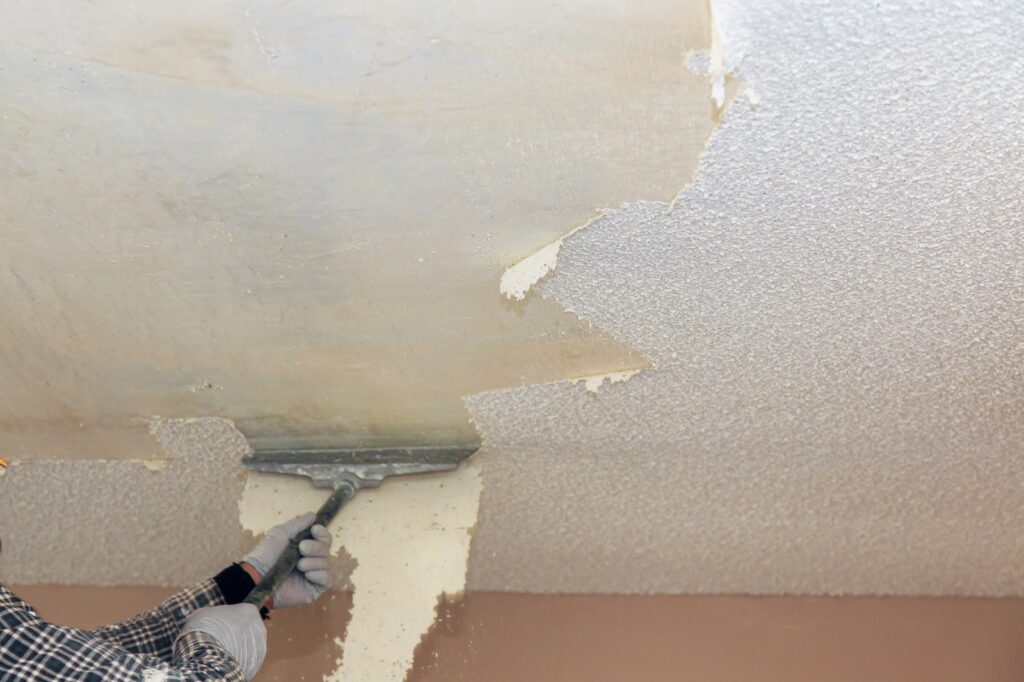
One of the biggest reasons to consider removing a popcorn ceiling is the potential health risk posed by asbestos.
If your home was built before the 1980s, there’s a chance that the popcorn texture used in your ceiling contains asbestos—especially if it hasn’t been updated since then.
Asbestos was commonly used in ceiling treatments because it was cheap and effective at fireproofing and soundproofing.
The problem? Asbestos fibers are dangerous when they become airborne and are inhaled.
Getting exposed to these fibers can lead to serious health issues like:
- Lung cancer
- Mesothelioma
- Asbestosis
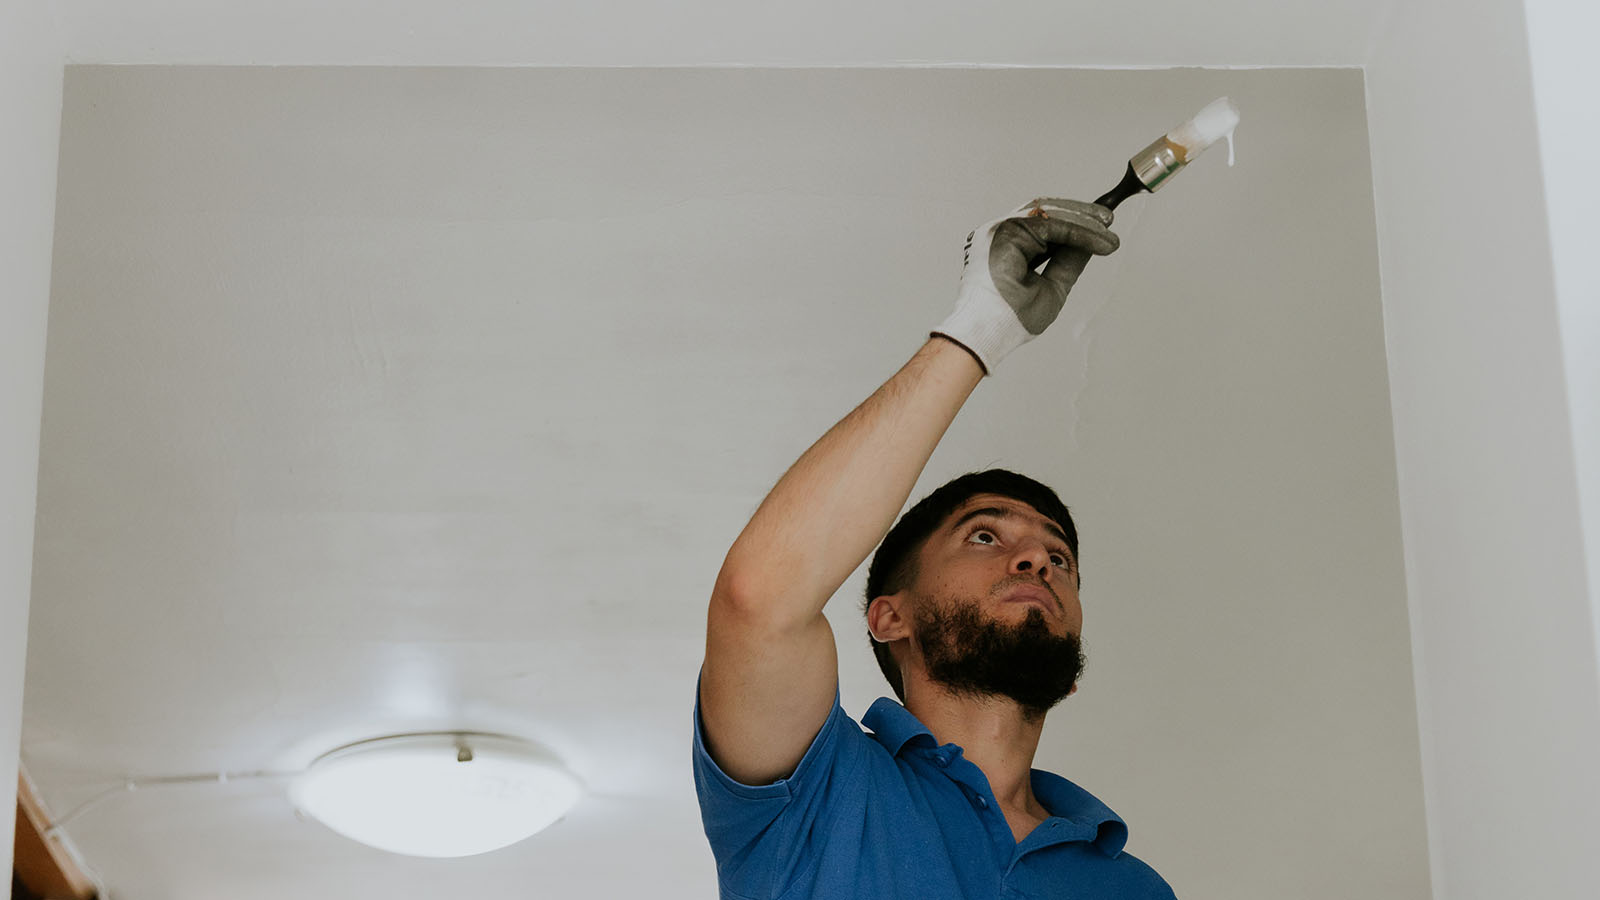
Getting it removed by professionals who know what they’re doing will make your home safer and give you one less thing to worry about. They’ll test it first, take all the right safety precautions, and make sure everything is disposed of properly.
Also Check Out Our Commercial Painting Services
#2 Improve Lighting
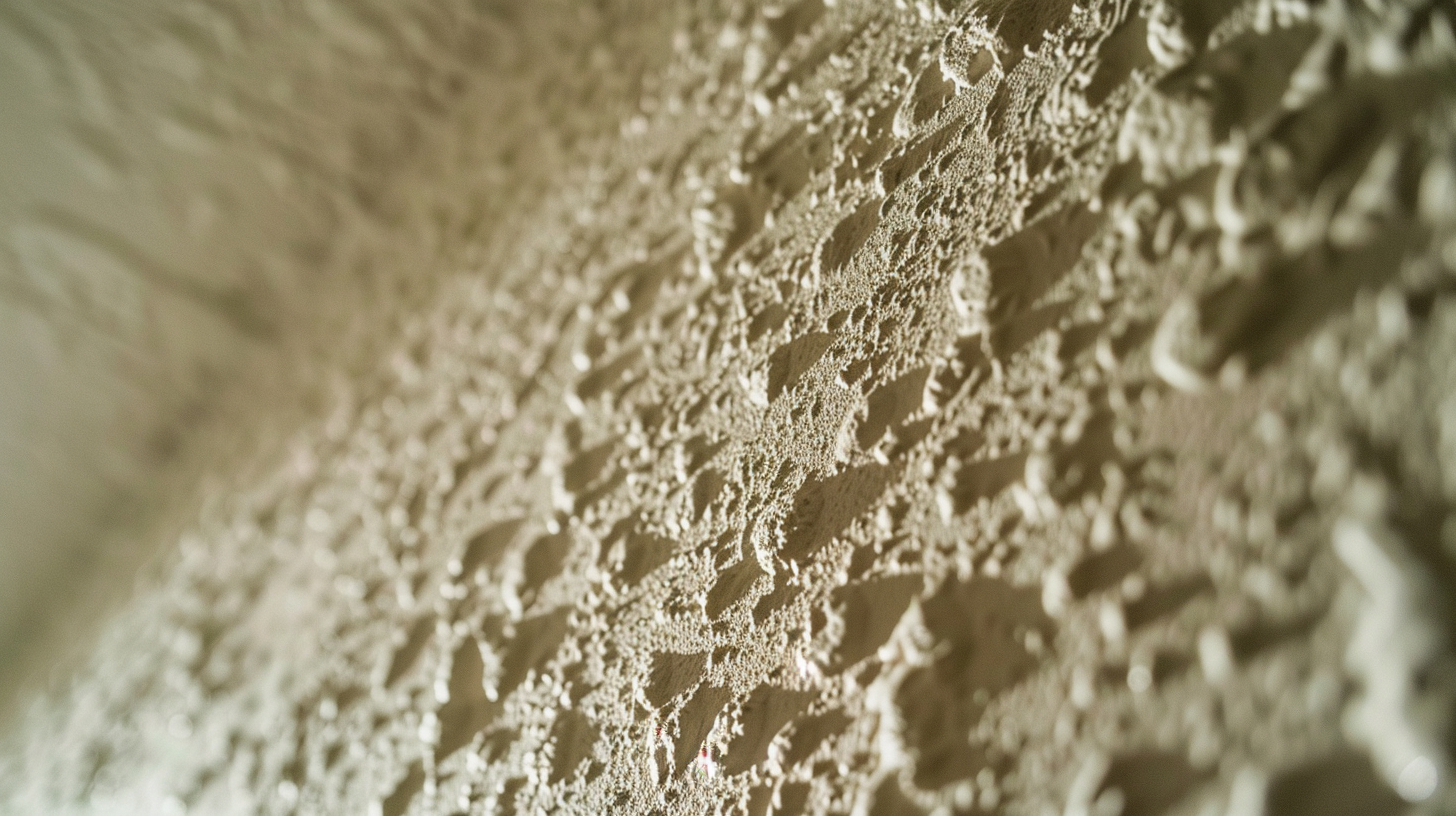
You might not realize it, but those bumpy popcorn ceilings are actually making your rooms darker than they need to be.
All those little bumps create tiny shadows everywhere, and that really affects how light moves around your room. When you switch to a smooth ceiling, you’ll be amazed at the difference.
The light bounces off much better, and suddenly your rooms feel brighter and more open.
Plus, you might even save some money on lighting because you won’t need as many lamps to brighten up your space.
#3 Stop Discoloration
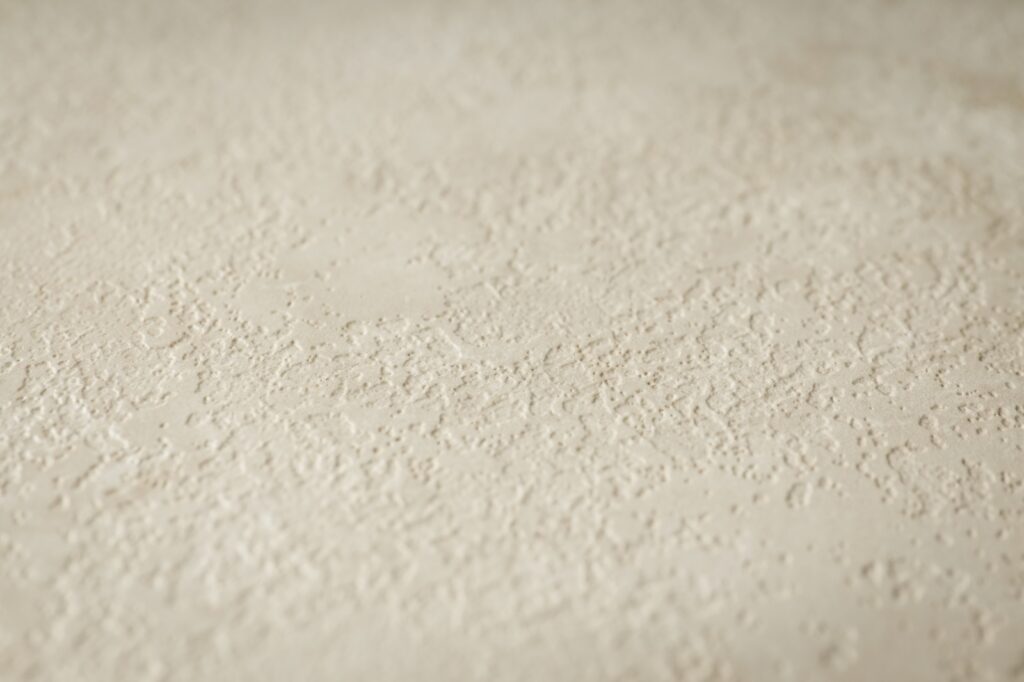
Over time, popcorn ceilings tend to yellow or stain, especially in areas with poor ventilation or higher humidity, like kitchens or bathrooms.
This discoloration can make your ceiling look dingy and outdated, no matter how much you clean or touch it up. The textured surface of popcorn ceilings also makes it difficult to fully clean or repaint, so those stains stay forever.
When you remove the popcorn texture, you get to start fresh with a clean surface that won’t trap all that dirt and grime.
Your new smooth ceiling will stay looking fresh much longer, and if it ever does get dirty, you can actually clean it without worrying about ruining the texture.
Also Read – Eggshell Paint On Ceiling
#4 Increase Home Value
If you’re thinking about selling your home one day, those popcorn ceilings will cost you.
Today’s home buyers often see popcorn ceilings and immediately start calculating how much they’ll need to spend to remove them.
By taking care of it yourself, you’re making your home more attractive to buyers and potentially increasing its value.
Real estate agents often say that updated homes sell faster and for better prices.
Plus, when buyers see smooth ceilings, they know they won’t have to deal with this renovation themselves, which can make your home stand out from others on the market.
#5 Easier To Clean And Maintain
Cleaning popcorn ceilings is a real pain. Those bumpy surfaces are like magnets for dust, cobwebs, and all sorts of stuff you don’t want hanging around up there.
And trying to clean them? You’ll probably end up with a mess of falling ceiling bits all over your floor.
With a smooth ceiling, maintenance becomes so much simpler.
A quick wipe or dusting now and then is all you need. You won’t have to worry about damaging the texture or creating a bigger mess while you clean.
Your ceilings will stay cleaner longer, and keeping them that way won’t be such a chore.
#6 Better Sound And Insulation
Popcorn ceilings, with their uneven texture, can actually help dampen sound a bit—though not in a particularly efficient or controlled way.
If you’re looking for more effective soundproofing or insulation, removing the popcorn ceiling can be a great step.
Also Read – Can You Skim Coat Over Wallpaper?
When you replace it with a smooth, flat ceiling, you open up the possibility of adding proper insulation for soundproofing materials, which can help with noise reduction between rooms or even lower energy bills.
Plus, a smooth ceiling allows for better airflow and can contribute to a more comfortable room temperature overall.
#7 Make Your Room Feel More Modern
Those popcorn ceilings are really showing their age.
Even if you’ve got the most up-to-date furniture and decorations, that dated ceiling texture can make your whole room feel stuck in the past.
Taking it down and putting up a smooth ceiling instantly updates the entire space. Your room will feel fresh and current, and you won’t have that constant reminder of decades past hanging over your head.
If you’re looking to give your space a more modern, polished look, removing the popcorn ceiling is one of the quickest ways to do it.
It’s amazing how such a simple change can make such a big difference.
#8 Get Better Paint Results
Trying to paint a popcorn ceiling is nobody’s idea of fun. The texture soaks up paint unevenly, and you might end up with chunks falling down as you work – what a mess!
A smooth ceiling is so much easier to work with.
The paint goes on evenly, and you can change colors whenever you want without worrying about damaging the surface.
You’ve got more options too – you can use different finishes and even try special ceiling paint effects if you want to get creative.
It’s much easier to keep your ceiling looking fresh when you can paint it properly.
Wrapping Up
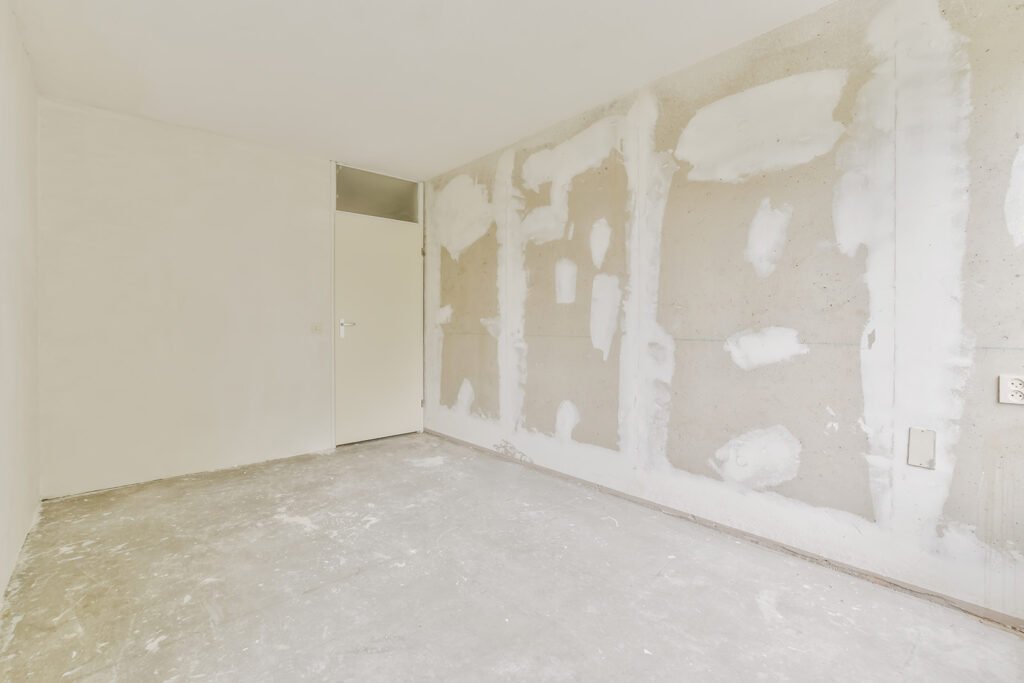
Deciding to remove your popcorn ceiling is a personal choice, but as we’ve seen, there are plenty of good reasons to consider it.
Not only will it give your space a cleaner, more modern look, but it can also make your home safer and easier to maintain in the long run. And it will increase your home’s value!
If you’re ready to say goodbye to that outdated texture, just call a pro.
Hiring a professional for removal is often the safest route, but the end result—a smoother, more modern ceiling—can definitely be worth it.
FAQs
Is Popcorn Ceiling Out of Style?
Yep, popcorn ceilings are pretty outdated now. You don’t see them much in modern homes anymore. People usually go for smoother, cleaner ceiling finishes that are way easier to maintain.
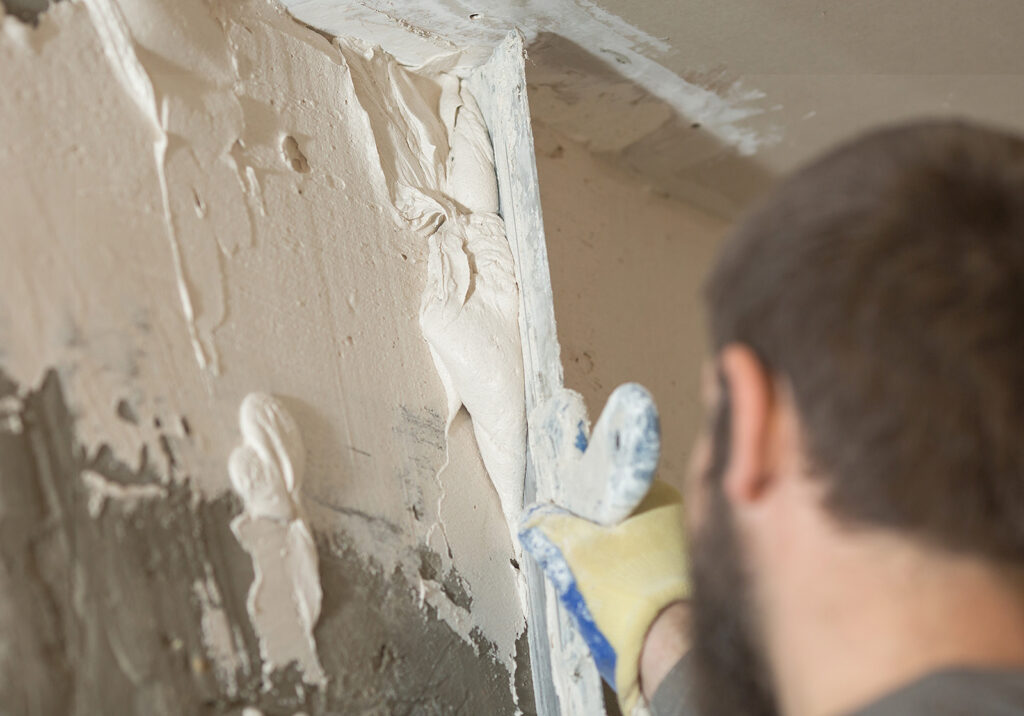
What Happens After You Remove Popcorn Ceiling?
Once it’s gone, the ceiling might look kind of rough and uneven. You’ll probably need to sand it down, do some patching, and then finish it off with a smooth surface or new texture.