Can You Skim Coat Over Wallpaper?
So, you’re staring at that old wallpaper and wondering if you can just skim coat over it, huh?
It’s a question I get a lot, and I totally understand why. Wallpaper can be a real pain to remove sometimes, and skim coating seems like it might be an easy fix.
The thing is, while you can skim coat over wallpaper, it’s not always the best choice.
So, before you decide to go this route, it’s important to understand what you’re getting into, and potential issues you could run into.
In this post, I’ll go over everything you need to know about skim coating over wallpaper.
Table of Contents
ToggleCan You Skim Coat Over Wallpaper Without Removing It?
Yes, you can skim coat over wallpaper (or even wallpaper glue) without taking it off first.
This can be a real time-saver, especially when the wallpaper just doesn’t want to come off or if removing it might damage your walls.
But here’s the thing – it’s not always smooth sailing.
How well it works really depends on what shape your wallpaper is in.
If it’s stuck on there good and tight, you might be okay. But if it’s peeling or bubbling anywhere, you could run into some trouble.
I’ll talk about some of the risks later on in the post.
Also Read: Do You Prime Before Texture?
How To Skim Coat Over Wallpaper
Here’s a step by step guide on how to skim over your wallpaper properly:
#1 Assess The Situation
Before you jump in, take a good look at your walls.
Are there large sections of loose wallpaper? Is the paper peeling off in some areas but not others? These are all things you need to consider.
You should only skim coat if the existing wallpaper is still in relatively good condition.
#2 Address Problem Areas
Now that you’ve decided to go ahead with skim coating, it’s time to get your walls ready. You need to make sure your wallpaper is as smooth and well-adhered as possible.
Walk around your room and run your hands over the walls. Feel for any bubbles and loose edges. These are the spots you’ll need to address.
Outlets, light switches, and corners are usually where wallpaper starts to give up the ghost first.
You can cut away these loose sections and bubbles with a utility knife.
You can use some wallpaper paste if needed too.
#3 Prepare Corners And Seams
Now that we’ve dealt with the problem areas, let’s focus on the corners and seams.
In the corners where you’ve cut out the wallpaper, you’ll want to make sure you have a clean, straight edge to work with.
This might mean doing a bit more cutting or even sanding to get things just right.
As for those seams where one piece of wallpaper meets another, we can’t just ignore them. If we did, they might show through our skim coat, and that’s definitely not the professional look we’re aiming for.
We’ll need to reinforce these areas to make sure they don’t cause us problems down the line.
Also Read: Preparing Walls for Painting After Removing Wallpaper
#4 Apply Drywall Tape
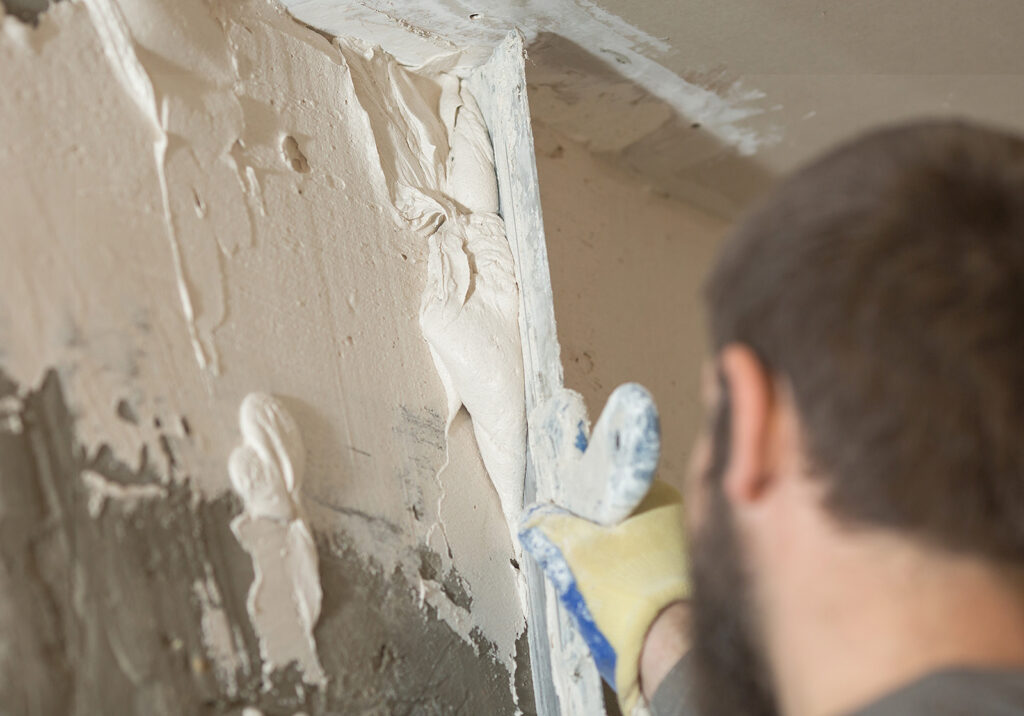
Time to break out the tape! For the corners, we’re going to use good old-fashioned paper tape. It might not look like much, but it’s perfect for creating those sharp, clean edges we want.
Apply it carefully, making sure it’s straight and well-adhered.
For the seams between wallpaper pieces, I like to use fiber fuse drywall tape. It’s easy to work with and does a great job of reinforcing those potential weak spots.
If you can’t find fiber fuse, fiberglass mesh tape will do the trick too.
Just remember, if you go with mesh, you’ll need to use a quick-setting compound instead of regular joint compound.
#5 Mud And Tape As Normal

Now we’re getting to the heart of the matter – the actual skim coating.
Treat this just like you would any other skim coating job.
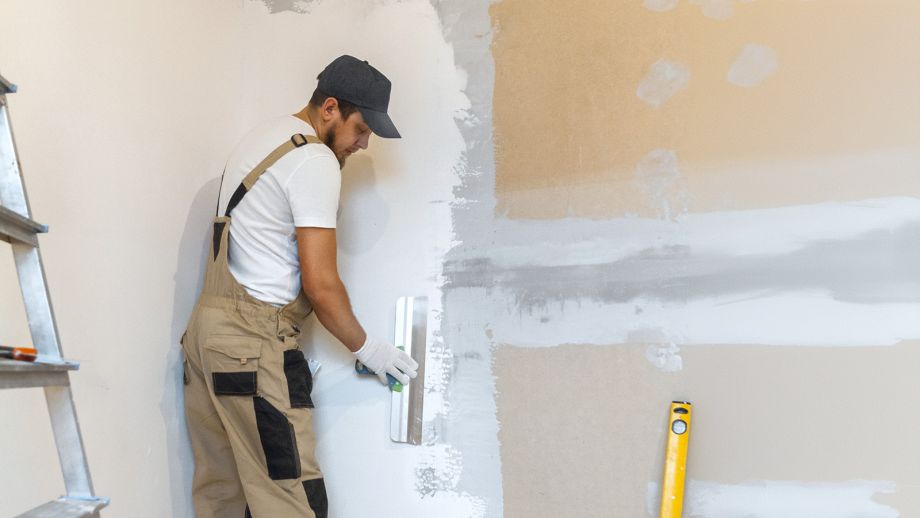
Apply your joint compound over the tape, making sure to spread it evenly. Use your taping knife to smooth it out, feathering the edges so they blend seamlessly with the surrounding areas.
You’ll probably need to apply multiple coats to get a really smooth finish.
Don’t try to do it all in one go – thin, even layers are the key to success here. Pay extra attention to those taped areas – they can be a bit trickier to get smooth.
And don’t forget to let each coat dry completely before adding the next one.
#6 Sanding
Once your final coat of joint compound is completely dry, it’s time to sand. Use a fine-grit sandpaper and take your time. The goal here is to create a surface that’s smooth as glass.
Run your hands over the walls – they should feel perfectly even, with no bumps or dips.
#7 Finish And Review
Now step back and take a good look at your work.
Are there any spots that need touching up?
Any areas where you can still see a hint of the old wallpaper texture?
Now’s the time to address these issues. It might mean applying another small patch of compound or doing a bit more sanding, but it’s worth it to get a truly professional-looking finish.
When you’re done, your walls should look like they were never wallpapered in the first place.
Risks Of Skim Coating Over Wallpaper
Now let’s talk about some of the risks involved in skim coating over wallpaper. It’s important to know what you’re getting into:
Also Read: How Long For Home Wood Rot?
Adhesion Problems
One of the biggest issues is getting the joint compound to stick properly.
Wallpaper isn’t always the best surface for this, especially if it’s got a shiny finish.
If the compound doesn’t stick well, you might end up with cracks or peeling down the line.
This is why you need to make sure the wallpaper is in good shape and maybe even use a special bonding agent to help everything stick together.
Wallpaper Might Peel Or Bubble
Even if your wallpaper looks well-adhered now, the moisture from the joint compound could cause problems sometimes.
The water in the compound can sometimes seep through to the wallpaper adhesive..
This can lead to bubbling or peeling of the wallpaper underneath your newly skim coated surface.
The tricky part is that this doesn’t always happen right away. You might think everything’s fine, and then months later, you start seeing issues.
Uneven Surface
If your wallpaper has any kind of texture or pattern, it might show through your skim coat.
This can leave you with a surface that’s not quite as smooth as you want, and it might even be noticeable after painting.
You might need to put on several layers of joint compound to fix this.
Harder To Remove The Wallpaper Later
Here’s something to think about for the future – if you skim coat over your wallpaper, it’s going to be much harder to remove it later on.
The joint compound will stick to the wallpaper, basically gluing it to the wall even more.
If you ever try to take it off, you’ll probably end up damaging the wall underneath.
So before you start skim coating, make sure you’re okay with that.
Bottom Line

Skimming over wallpaper isn’t always recommended, but sometimes it’s the best option we’ve got. Take your time, follow these steps, and you’ll end up with walls that are smooth and ready for whatever color you throw at them.
Our Blogging Expert

Jairo Ramirez has been in the painting industry for over a decade and has served hundreds of customers across the greater Richmond, VA area.
Our Locations
Painting in Richmond, VA
Serving Richmond
& the Central VA Area
Mon-Fri 8am – 6pm
Sat-Sun 8am – 5pm


