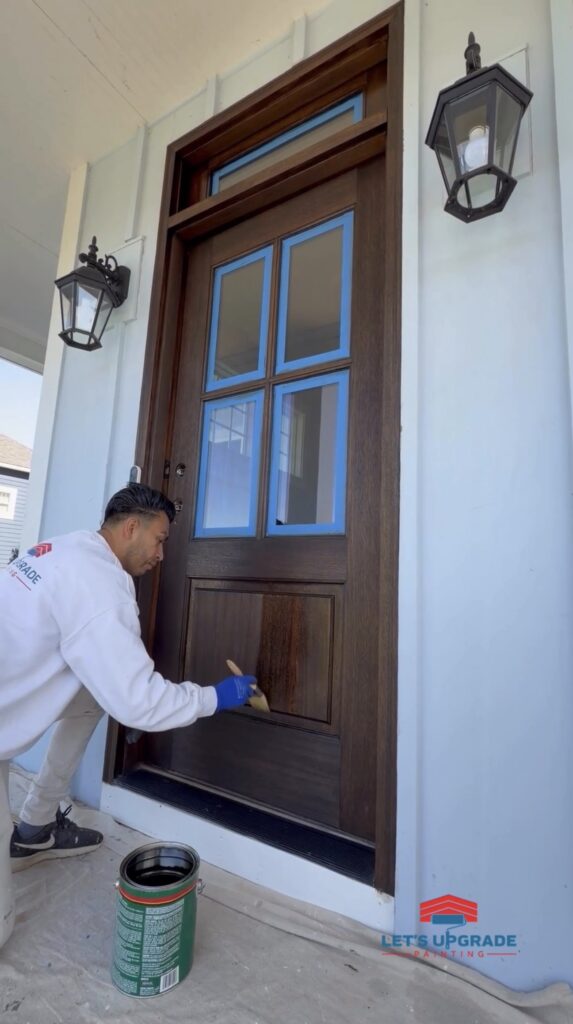
Front Door Refinishing: What Homeowners Should Know Before Restoring a Wood Entry Door
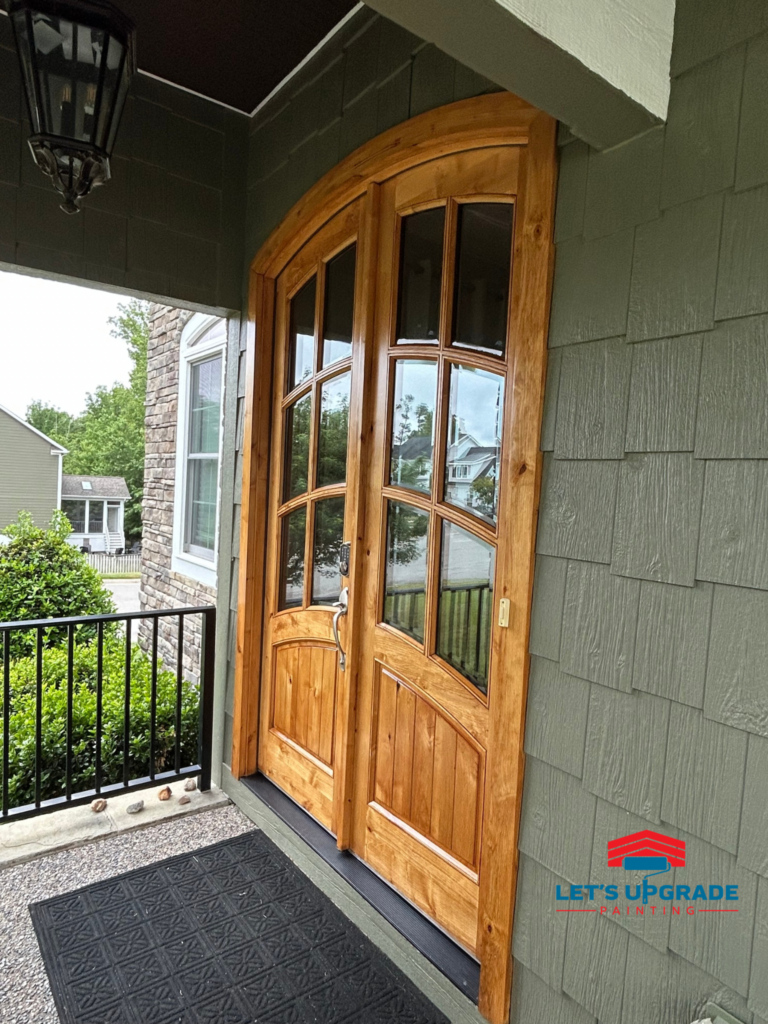
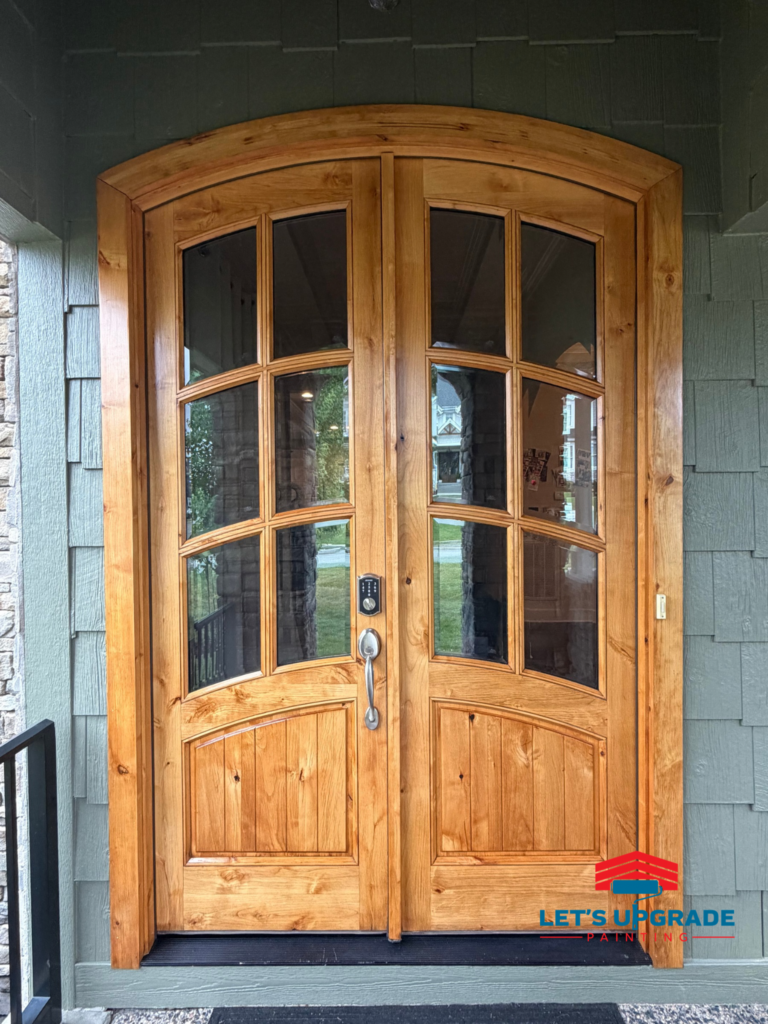
A front door is one of the first things people notice about a home. A properly refinished wood door can completely change the appearance of an entryway and bring warmth, character, and a timeless natural look that painted finishes simply cannot replicate.
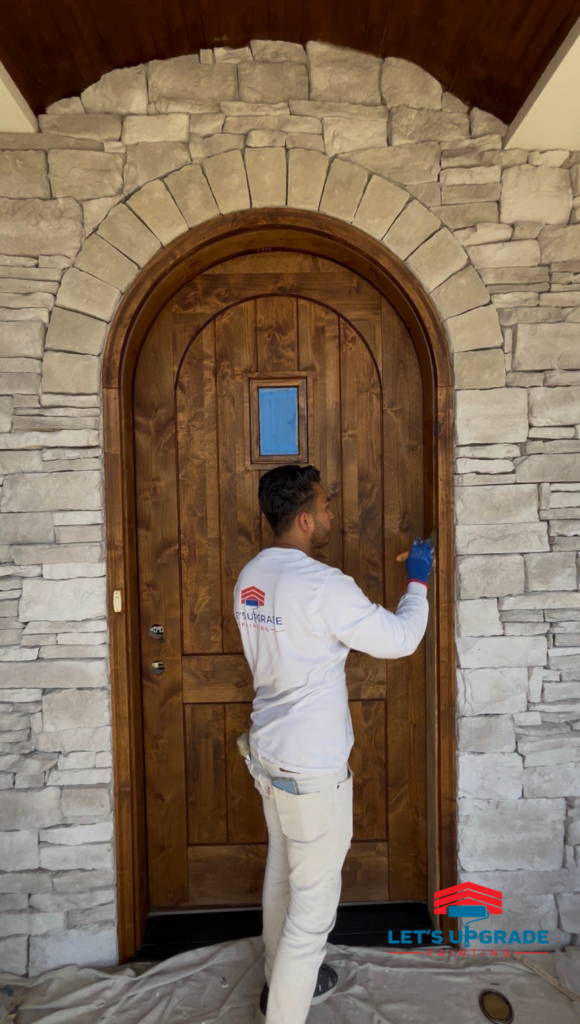
In areas like Hallsley, Magnolia Green, Moseley, Midlothian, Short Pump, and surrounding communities, we have been seeing more homes with natural wood front doors, especially cedar and mahogany. These doors look beautiful when they are properly stained and protected, but exterior stained wood requires the right process and regular maintenance.
Front door refinishing is not just about applying stain and clear coat. It is about understanding the door, choosing the right system, and protecting the wood from sun exposure, moisture, and long-term wear.
Understanding the Door Before Starting
One of the biggest mistakes in front door refinishing is treating every door the same.
Before starting any refinishing project, it is important to identify what type of door we are working on. Different materials and wood species require different preparation methods, sanding techniques, stain systems, and clear coats.
Some common front door materials include:
- Mahogany
- Fir
- Cedar
- Pine
- Oak
- Poplar
- Fiberglass woodgrain systems
- Veneer wood doors
- Historic solid wood doors
Many newer front doors that look like solid wood are actually veneer systems with only a thin layer of real wood on the surface. These doors require extra caution because excessive sanding can permanently damage the veneer and expose the material underneath.
Historic solid wood doors can usually handle more restoration work, but older wood can also become delicate over time. Aggressive sanding or improper stripping can damage carvings, details, and natural wood grain.
Understanding the history of the door also matters. How old is the door? How many times has it been refinished? How much sun exposure does it receive? How many clear coats are already on the surface?
All of these details help determine the safest and best refinishing approach.
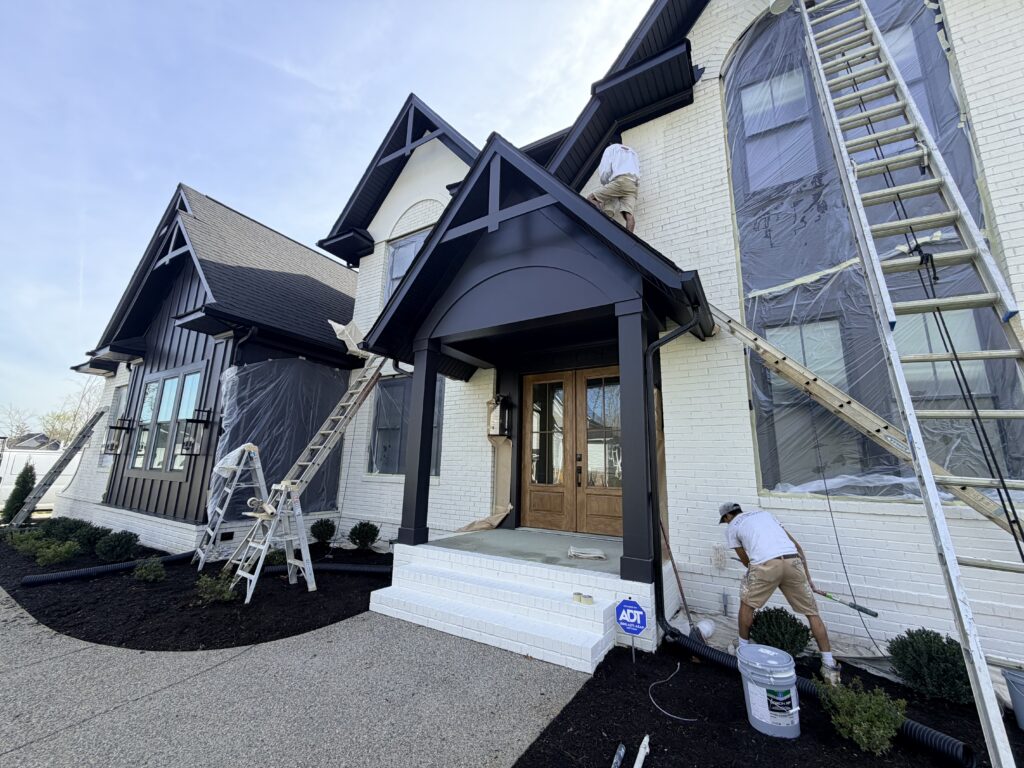
Preparation Work Is the Foundation
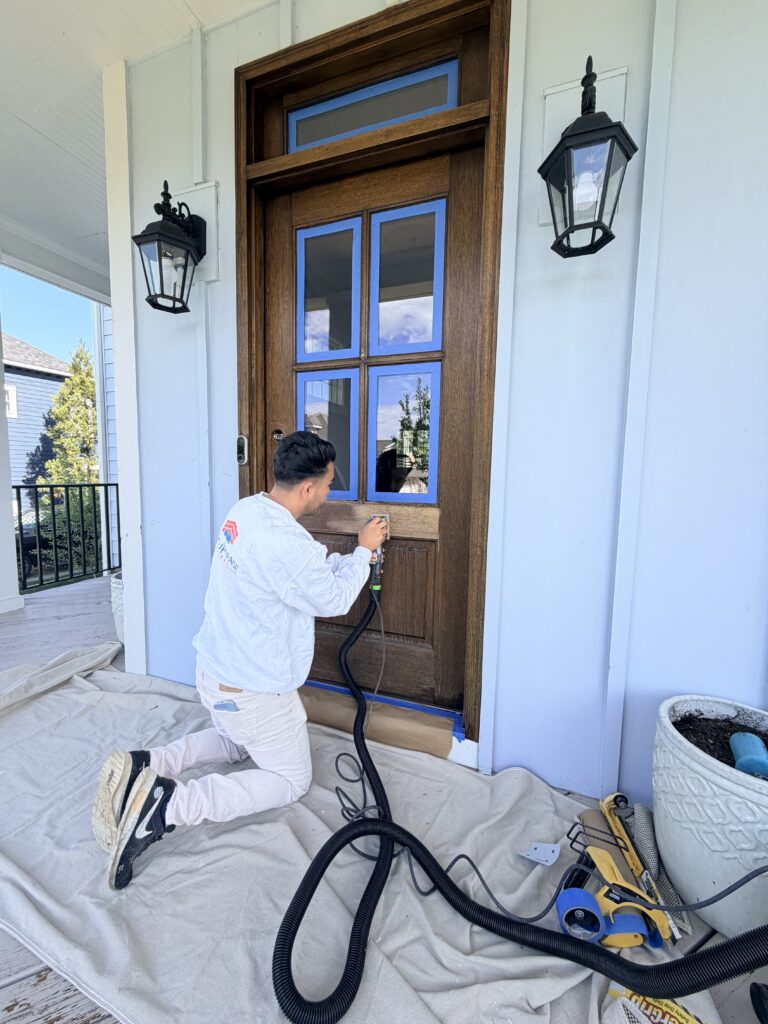
Preparation is one of the most important parts of front door refinishing.
The goal is to create a clean wood surface that allows the stain to absorb evenly. Any remaining clear coat, dark spots, uneven sanding, or contamination can affect the final appearance and create blotchy or uneven color.
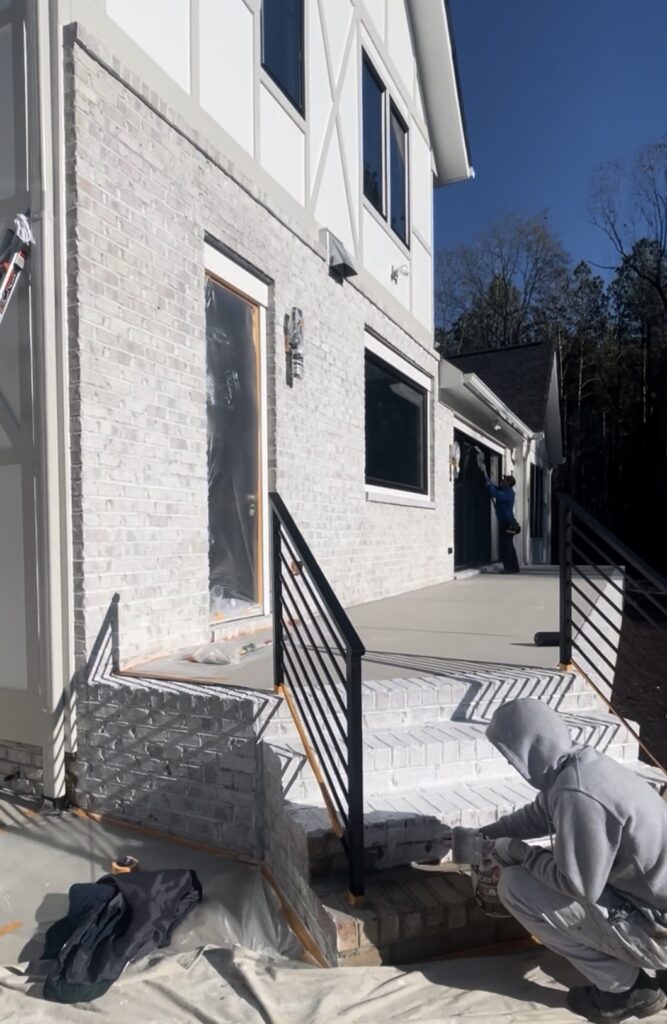
Some doors only need light sanding. Others require heavier sanding or careful stripping to remove old failing clear coats.
For veneer doors, sanding must be done carefully to avoid damaging the surface. For older doors with several layers of clear coat, stripping may be needed before sanding, but it must be done with care to avoid damaging the wood.
Once the surface is properly sanded, the door must be cleaned thoroughly before stain is applied.
Choosing the Right Stain System
For most wood front doors, transparent oil-based stains are usually the best option because they allow the natural grain to show while adding warmth and richness to the wood.
Different woods absorb stain differently. Fir, cedar, mahogany, pine, and oak can all react differently during the staining process. In some cases, a wood conditioner may be needed to help the stain absorb more evenly.
Stain is not like paint.
Paint sits on top of the surface. Stain reacts directly with the wood. That is why sanding quality and preparation work have such a big impact on the final result.
During stain application, excess stain must be wiped evenly. If stain is left too heavy in one area, that section can become darker than the rest of the door.
Understanding Clear Coat Systems
Once the stain has dried and the color looks correct, the clear coat system can be applied.
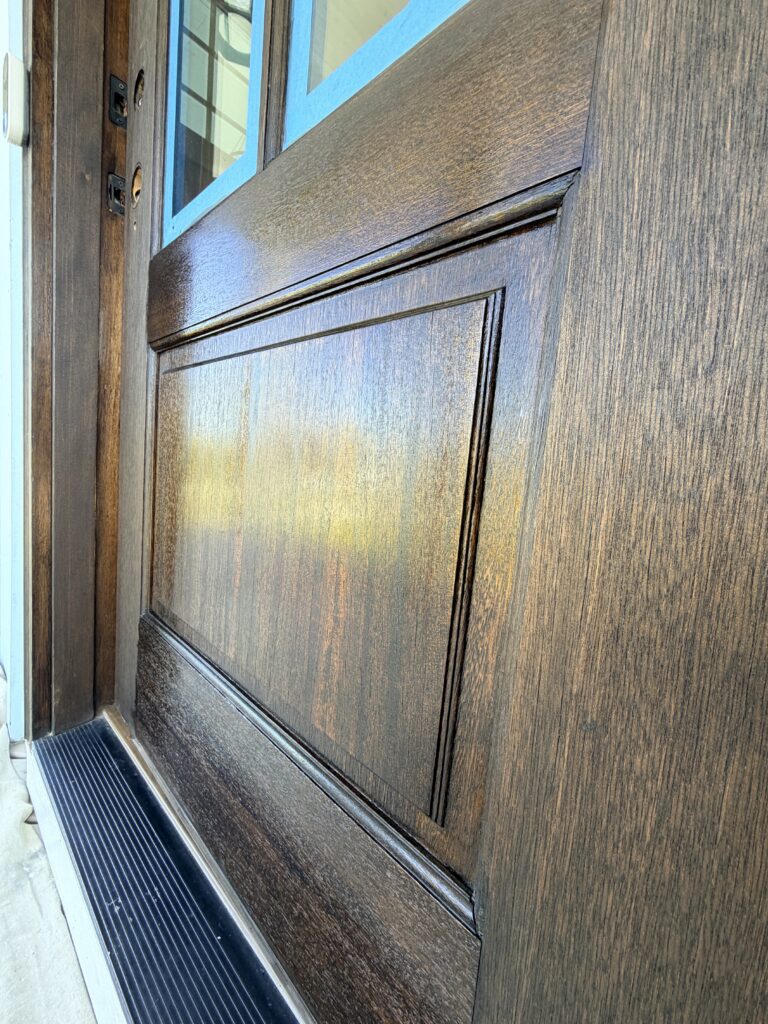
The clear coat is what gives the door depth, richness, and protection. It also helps protect the wood from moisture, UV exposure, and weather.
Common clear coat systems include:
- Marine varnish
- Oil-based urethane
- Water-based urethane
One important thing homeowners should understand is that no exterior clear coat lasts forever without maintenance.
UV exposure from the sun is one of the biggest causes of failure on stained exterior doors. Sunlight breaks down the clear coat over time and can dry out the wood surface. Moisture, weather, temperature changes, and strong cleaning chemicals or bleach-based products can also damage the sealer and affect the stain underneath.
This is why exterior stained front doors require regular maintenance.
Marine Varnish vs Urethane Systems
For front doors with heavy full-sun exposure, marine varnish is often one of the strongest protection systems available.
However, the strongest coating is not always the easiest system to maintain.
One common issue with front doors is uneven fading. Many times, only the lower section or one side of the door receives direct sunlight and starts fading first, while the top section still looks good.
This creates a challenge with very hard varnish systems because stain cannot properly absorb over an already sealed surface. If the bottom section fails but the top still looks good, the entire door may need to be stripped and refinished to achieve an even appearance.
This is why urethane systems can be a better option for some doors. They are generally easier to sand and maintain during future refinishing.
The right system depends on the door, the exposure, the condition of the wood, and the maintenance plan.
Clear Coat Finish Options
Clear coats are available in different sheen levels, including gloss, satin, and matte.
For most front doors, satin is a great middle option. It gives the wood depth and richness without making the door look overly shiny.
The goal is not always to create a high-gloss finish. The goal is to protect the door while keeping the natural beauty of the wood grain.
Before applying clear coat, the stain color needs to look right. Once the clear coat is applied, additional stain will not absorb properly into the wood.
Maintenance Expectations
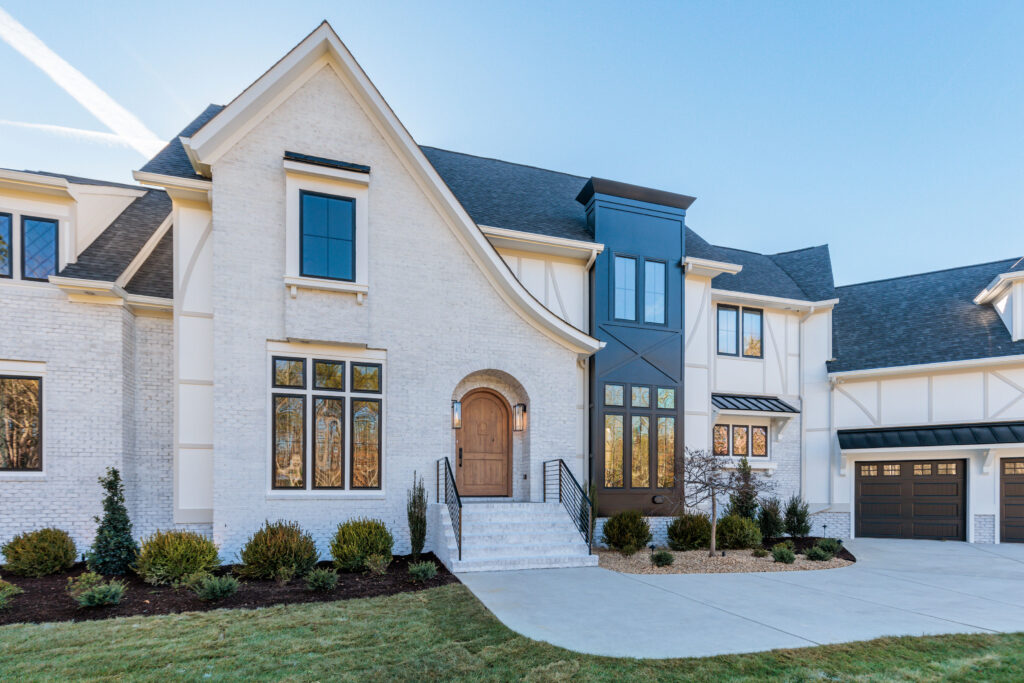
Natural wood front doors are beautiful, but they require commitment.
A stained exterior front door is constantly exposed to sun, moisture, and weather. Full sun exposure can break down the clear coat, fade the color, dry out the wood, and eventually lead to cracking or permanent damage if the door is not maintained.
From our experience, many fully exposed stained front doors may need maintenance within about two years, depending on the amount of sun exposure, weather conditions, product system, and previous maintenance history.
Proper maintenance is not only about keeping the door looking good. It is also about protecting the wood itself. Once the clear coat starts failing, UV exposure and moisture can begin damaging the wood, which can lead to cracking, peeling, fading, and uneven appearance.
That does not mean a stained wood door is a bad choice. A natural wood front door can be one of the most beautiful features of a home. It simply means homeowners should understand the maintenance involved before choosing or restoring an exterior stained door.
At Let’s Upgrade Painting, our goal is to help homeowners understand the right refinishing system, set realistic expectations, and maintain the natural beauty of their front door over time.