

Paint Trim Before Or After Install? (Solved)
If you’ve ever stood in the paint aisle staring at stacks of trim boards and wondering when you’re supposed to paint them, you’re definitely not alone.
This question comes up all the time during remodels, room makeovers, and even simple weekend DIY projects.
The truth is, both methods can work. It just depends on the kind of trim you’re using, how clean you want the final result to look, and honestly, how patient you are.
Still, one method usually makes life a whole lot easier for the average homeowner.
In this post, we’ll explain if you should paint trim before or after install.
Should I Paint Trim Before Or After Install?
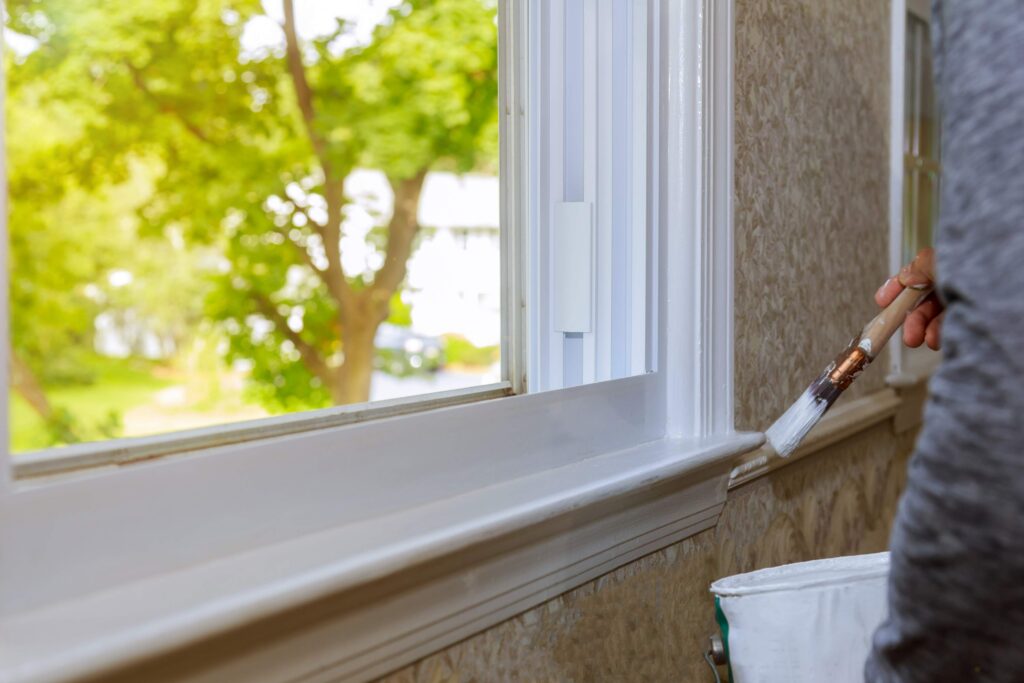
In most cases, it’s better to paint trim before installation, then do a final touch-up after it’s nailed in place. That usually gives you cleaner results and saves time, especially with baseboards, crown molding, and window trim.
Plus, it helps you avoid awkward crouching along walls for hours with a tiny brush in your hand.
When trim is laying flat on sawhorses or even across a couple of chairs in the garage, painting goes much faster. You can move quickly, apply smoother coats, and avoid a lot of mess.
Painters actually use a hybrid approach pretty often.
They’ll prime and paint one coat before installing the trim, then finish everything with a final coat after it’s attached to the wall.
Also Read: How To Paint Over Silicone Caulk
That tends to give the best mix of speed and clean results.
Benefits Of Painting Trim Before Install
Painting trim ahead of time has some pretty obvious advantages once you actually try it.
Here are a few reasons people love pre-painting trim:
- You can paint faster and more comfortably.
- It’s easier to get smooth coats without drips.
- Less painter’s tape and floor protection is needed later.
- Spray painting trim becomes much simpler before installation.
- You avoid accidentally brushing paint onto finished walls.
If you’re doing an entire house worth of baseboards or window trim, pre-painting can cut hours off the project. Instead of constantly stopping to tape walls or work around corners, you can move through the painting process in one big batch.
Pre-painted trim also tends to dry more evenly. Since the boards are laying flat, you don’t get as many runs or sagging spots.
And honestly, there’s something satisfying about installing trim that already looks finished.
Downsides Of Painting Trim Before Install
Of course, painting trim first isn’t perfect. There are still a few annoying things that happen during installation.
For starters, nail holes don’t magically disappear. Once the trim is installed, you still need wood filler, sanding, and touch-up paint. That means the job isn’t completely done after pre-painting.
Also Read: Is Kilz A Good Primer?
Transporting painted trim can also be tricky. Even fully dried boards can scratch or chip while being carried through doorways or stacked together.
One careless bump against a ladder or wall corner can leave marks you’ll need to fix later.
These are the common frustrations:
- Touch-up work still takes time after installation.
- Painted surfaces can scratch during handling.
- Caulk lines still need finishing paint.
- Some seams may stand out without a final blended coat.
This is why many pros still apply one final finish coat after installation, even if most of the trim was already painted earlier.
When Does Painting After Installation Make More Sense?
There are definitely situations where waiting until after installation makes more sense.
Stained wood trim is probably the biggest example.
Natural wood tends to look cleaner when everything gets finished together after installation. The filler, stain, and topcoat blend more evenly that way, especially around joints and nail holes.
Custom trim work also leans toward post-install painting.
If you’re working in an older house with uneven walls, lots of corners, or complicated cuts, trim pieces may need constant adjustments during installation.
Pre-painting can become frustrating if every piece keeps getting trimmed and recut.
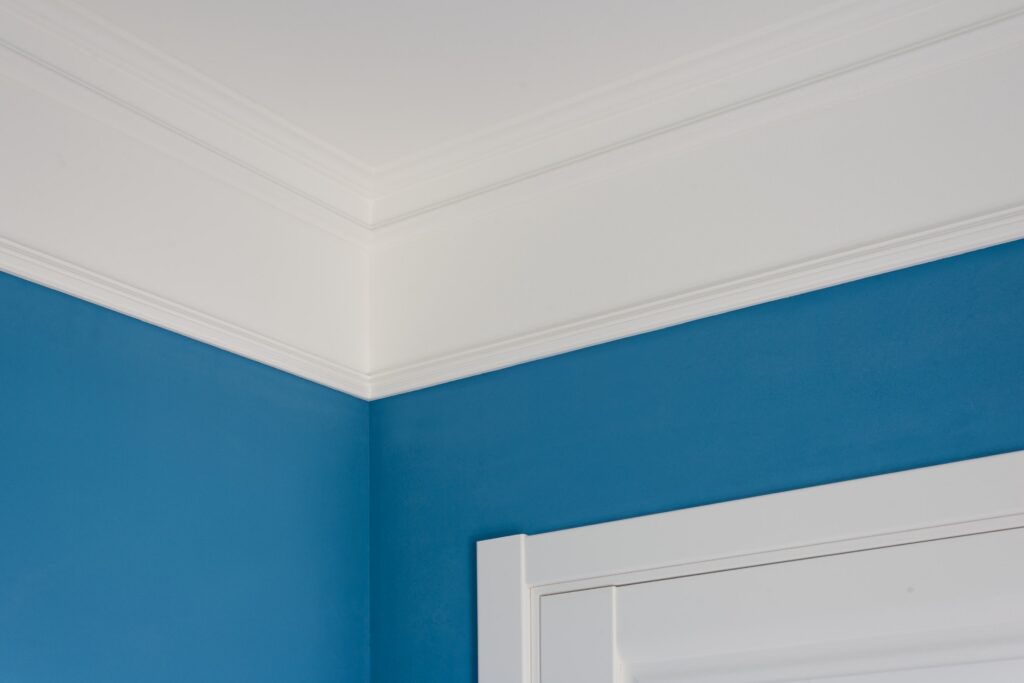
Crown molding is another good example. Since ceilings are rarely perfectly straight, installers often need to tweak joints and gaps as they go. Final painting after installation helps hide those imperfections better.
Also Read: Should I Remove Popcorn Ceiling?
Pros And Cons Of Painting Trim After Install
Let’s take a look at the pros and cons if you’re painting the trim after installation:
| Pros | Cons |
| Nail holes and seams blend together better | Painting takes longer |
| Final finish looks seamless | More masking and prep work |
| Less risk of scratching finished trim during install | Harder on your back and knees |
| Easier to hide caulk lines | More chance of getting paint on walls or floors |
| Good option for stained trim | Brush marks and drips are more common |
Painting after installation definitely creates a polished final appearance, but it usually requires more patience. Prep work alone can eat up a surprising amount of time.
The Best Method For Most DIY Projects
For most homeowners, the best approach is honestly a mix of both methods.
Start by priming and painting one coat before installation. That gives you the speed and convenience of working with flat boards.
After the trim is installed, go back and fill nail holes, apply caulk, lightly sand rough spots, and finish with one final coat.
This method solves most of the problems people run into. You avoid tons of tedious wall painting early on, but you still get that smooth, finished appearance at the end.
It’s also more forgiving for beginners.
Small mistakes disappear easier during the final coat, and you won’t stress as much over tiny scratches during installation.
If you’re using MDF trim or factory-primed boards, this process works especially well. Those materials are basically made for fast paint projects.
Bottom Line
For most DIY projects, painting trim before install, and then finishing with touch-ups afterward is usually the sweet spot. It saves time, keeps the process easier, and still gives you a clean final result.
Pure post-install painting can look great too, but it’s usually slower and more tedious for the average homeowner.
At the end of the day, the best method is the one that matches your project, your patience level, and the type of trim you’re working with. As long as you take your time with prep and final touch-ups, both approaches can end up looking fantastic.
Our Blogging Expert

Jairo Ramirez has been in the painting industry for over a decade and has served hundreds of customers across the greater Richmond, VA area.


