

Can You Shellac Over Paint? (Complete Guide)
You just finished painting a piece of furniture, cabinets, or trim, and now you’re wondering if shellac is the right finish to protect it.
The good news is that, in many cases, you can apply shellac over paint without any problems!
That said, success comes down to using it on the right surface and applying it the right way. A few simple preparation steps can make the difference between a smooth, long-lasting finish and one that doesn’t hold up.
In this post, we’ll show you how to shellac over paint like a PRO.
Can You Shellac Over Paint?
Yes, you can shellac over paint, and in many cases, it works really well.
Shellac sticks to most fully cured painted surfaces and creates a smooth, protective finish that dries much faster than many other topcoats.
It works nicely with:
- Latex (water-based) paint
- Oil-based paint
- Chalk paint
- Milk paint
Shellac is also popular because it’s easy to apply. It brushes on smoothly, dries in less than an hour in most cases, and can be recoated quickly.
If you’re trying to finish a project in a single day, that’s a huge advantage.
If you’re working on painted furniture, cabinets, trim, or decorative pieces, shellac can be a great option.
That said, you need to make sure the paint has had enough time to cure. Paint may feel dry after a few hours, but that doesn’t mean it’s ready for a finish coat. Applying shellac too soon can lead to poor adhesion or an uneven finish, so a little patience goes a long way.
Also Read: Can You Add Water To Latex Paint?
When Should You Avoid Shellac Over Paint?
Shellac works well for many painted surfaces, but there are a few situations where it’s not the right choice. Using it in these cases can shorten the life of the finish or create problems later.
We recommend that you:
- Don’t apply shellac over paint that hasn’t fully cured.
- Skip shellac on surfaces that are exposed to frequent moisture.
- Choose a tougher finish for furniture or surfaces that see heavy daily use.
- Repair peeling or damaged paint before applying shellac.
- Avoid shellac on surfaces that will regularly come into contact with alcohol-based products.
Keeping these points in mind will help you avoid common mistakes and choose the right finish for your project.
If your painted surface doesn’t fall into any of these situations, shellac can provide a smooth, attractive protective coat.
Also Read: Paint Trim Before Or After Install?
How To Apply Shellac Over Paint
Applying shellac isn’t difficult, even if you’ve never used it before. The biggest secret is taking your time with the preparation.
Here’s how to do it like a PRO:
Step 1: Let The Paint Cure Completely
This is the most important step.
Fresh paint may look dry after several hours, but curing takes much longer. Depending on the type of paint, curing can take anywhere from several days to several weeks.
Read the paint manufacturer’s recommendations and give it enough time.
Once the paint has cured, shellac has a much better chance of bonding properly.
Step 2: Clean The Painted Surface
Dust, grease, fingerprints, and wax can interfere with adhesion. Before applying shellac, wipe the entire surface with a clean cloth and a mild cleaner.
After cleaning, let the surface dry completely.
Even a small amount of leftover moisture can affect the final finish.
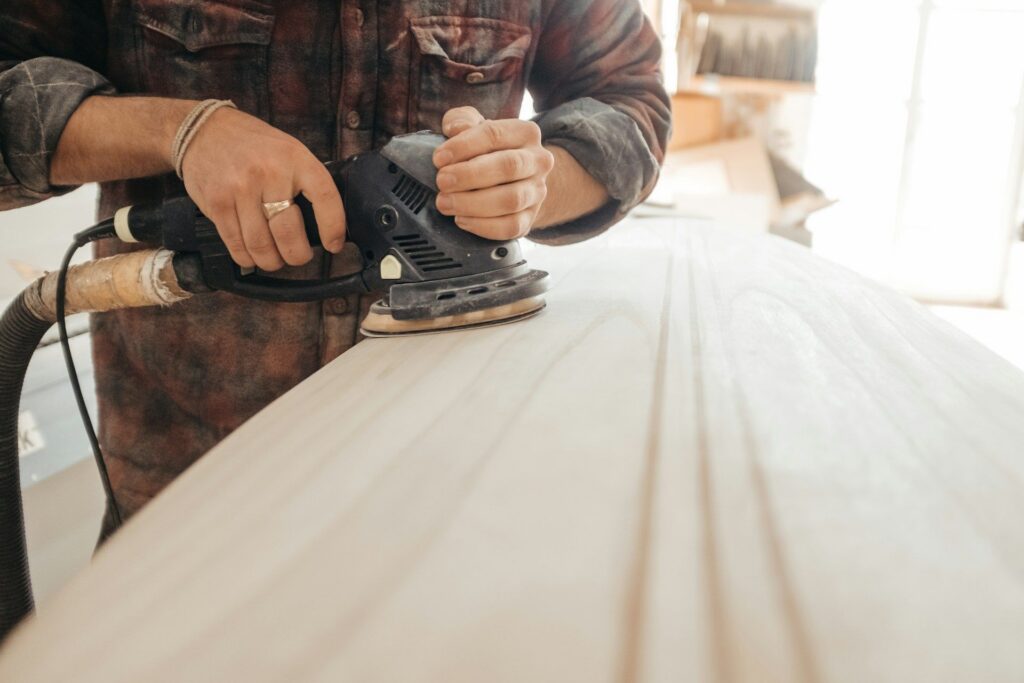
Step 3: Lightly Sand Glossy Paint
If the painted surface has a glossy finish, lightly sand it with fine-grit sandpaper, such as 220 grit.
You don’t need to remove the paint. The goal is simply to dull the shine enough to give the shellac something to grip.
After sanding, wipe away all the dust with a tack cloth or a damp microfiber cloth.
Also Read: Is Paint Ruined If It Freezes?
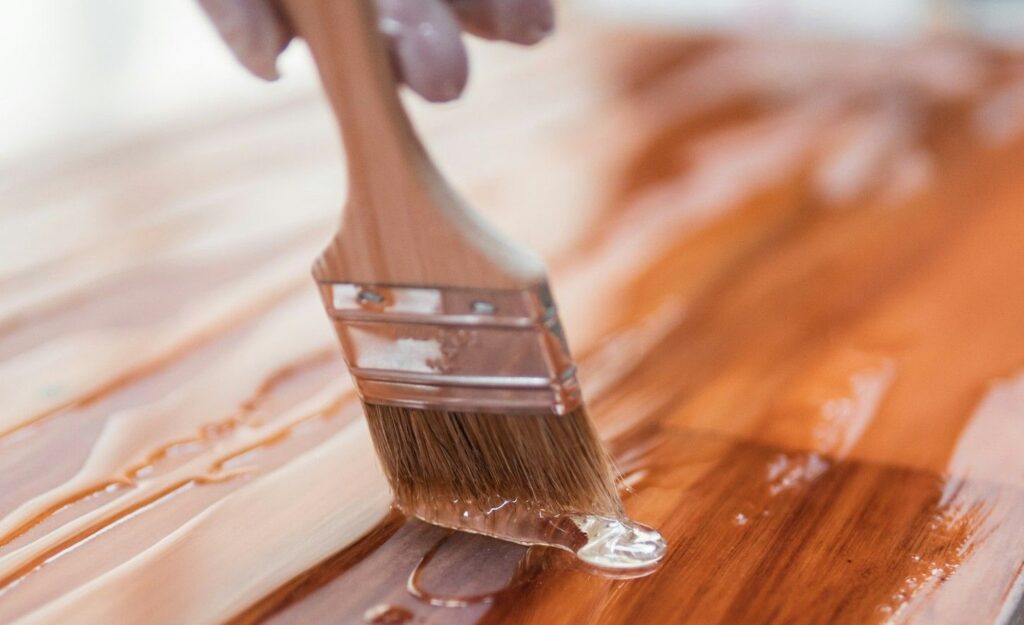
Step 4: Apply A Thin First Coat
Use a quality natural-bristle brush or a foam brush and apply a thin, even coat of shellac.
Avoid overloading the brush because shellac dries quickly.
Brush in long, smooth strokes and try not to go back over areas that have already started drying. That helps prevent brush marks and streaks.
Thin coats almost always look better than heavy ones.
Step 5: Sand Lightly Between Coats
Once the first coat has dried, lightly sand it with very fine sandpaper, around 320 to 400 grit.
This smooths out tiny imperfections and helps the next coat bond even better. After sanding, remove all the dust before continuing.
It only takes a few minutes, but it makes a noticeable difference in the finished surface.
Step 6: Apply Additional Coats If Needed
Most projects look great with two or three thin coats of shellac. Each additional coat adds a little more protection and creates a richer appearance.
There’s usually no need to pile on several heavy coats.
Thin layers dry faster, level out better, and leave a cleaner-looking finish.
Once you’re finished, let the shellac dry fully before putting the item back into regular use.
Also Read: Is Kilz A Good Primer?
Does Shellac Change The Color Of Paint?
Yes, shellac can change the appearance of paint, and that’s something many people don’t realize until after they’ve applied it.
Traditional amber shellac adds a warm golden tone. On darker paint colors, the difference may be subtle. On white, cream, or other light shades, the yellow tint can become much more noticeable.
If you want to keep the paint color as close to the original as possible, clear dewaxed shellac is usually the better choice.
It still adds a protective finish but doesn’t darken the surface nearly as much.
The sheen also changes the overall appearance. Even clear shellac can make paint look richer and slightly deeper simply because of the glossy finish.
That’s normal and often one of the reasons people choose shellac in the first place.
Testing the finish on a hidden area is always a smart idea.
Bottom Line
Yes, you can shellac over paint, and it’s a great option for many indoor projects. As long as the paint has fully cured, the surface is clean, and you apply thin coats, shellac creates an attractive finish that dries quickly and adds a layer of protection.
Just remember that shellac isn’t the best choice for surfaces exposed to lots of moisture or heavy daily wear.
In those situations, a tougher finish like polyurethane usually performs better.
For painted furniture, trim, decorative pieces, and many DIY projects, though, shellac remains a reliable and easy-to-use finish.
Our Blogging Expert

Jairo Ramirez has been in the painting industry for over a decade and has served hundreds of customers across the greater Richmond, VA area.


