How To Paint Over Silicone Caulk (Guide)
You’d think painting over caulk would be one of the easiest parts of a project. It’s just a thin line along the trim or a seam on the wall. Quick brush stroke and done, right?
Then the paint starts separating. It beads up. It refuses to stick.
If you’re staring at shiny silicone caulk and wondering why your paint won’t cooperate, you’re not doing anything wrong. Silicone just isn’t designed to be painted.
The good news is there’s a fix.
In this post, we’ll show you how to paint over silicone caulk.
Can You Paint Over Silicone Caulk?
No, you can’t paint over silicone caulk if it’s 100% silicone.
Paint doesn’t stick to true silicone. It’s designed to repel moisture, stay flexible, and resist pretty much everything. That includes your carefully chosen wall color.
If you try to paint over it anyway, you’ll probably notice:
- Paint beads up instead of spreading smoothly
- The surface looks uneven or streaky
- Paint peels or cracks once it dries
- The finish looks glossy in weird spots
That’s because silicone is non-porous and slick. There’s nothing for the paint to grab onto.
Now, if the caulk is labeled “paintable,” you’re in luck. That usually means it’s acrylic latex or a siliconized acrylic blend. Those are made to accept paint and will cooperate just fine once they’ve cured.
If it says “100% Silicone” on the tube, you’re going to need to remove it and replace it with something paintable. That’s the cleanest and most reliable option.
Also Read: Promar 200 vs 400
How To Paint Over Silicone Caulk
If you want the paint over silicone caulk to actually look good and stay put, this is the process that works. It takes a little effort, but it saves you from doing the job twice.
#1 Check What Type Of Caulk You Have
Before you grab a knife or a paintbrush, confirm what you’re working with.
If you still have the tube, read the label. Look for phrases like “100% silicone” or “paintable acrylic latex.” That tells you everything you need to know.
If you don’t have the packaging, here’s a quick test:
Silicone usually feels rubbery and very flexible, and it has a slightly shiny surface. Acrylic caulk tends to look more matte and feels a bit firmer once dry.
If it’s paintable already, you can skip the removal steps and move ahead to priming and painting.
If it’s true silicone, it needs to come out.
#2 Cut Out The Old Silicone
Use a sharp utility knife or a caulk removal tool.
Carefully run the blade along both edges of the bead. Take your time here. You’re not trying to gouge the wall or trim, just separate the caulk from the surface.
Once it’s cut loose, grab one end and gently pull.
A lot of times, it will peel away in one long strip. It’s oddly satisfying when it does.
If small pieces remain, scrape them away gently. The goal is to remove as much of the old silicone as possible.
Also Read: 3/8 Or 1/2 Nap Roller For Walls?
#3 Clean The Area
Here’s the step people rush through – and it’s the one that makes or breaks the result.
Silicone leaves behind residue, even if you can’t see it, it’s there. And that residue will stop new caulk and paint from sticking properly.
Wipe the area down with mineral spirits to remove any leftover oils.
Use a clean rag and change it out if it gets messy. After that, wash the surface with mild soap and water, then let it dry completely.
Dry means fully dry. Not damp. Not “it feels fine.” Give it time.
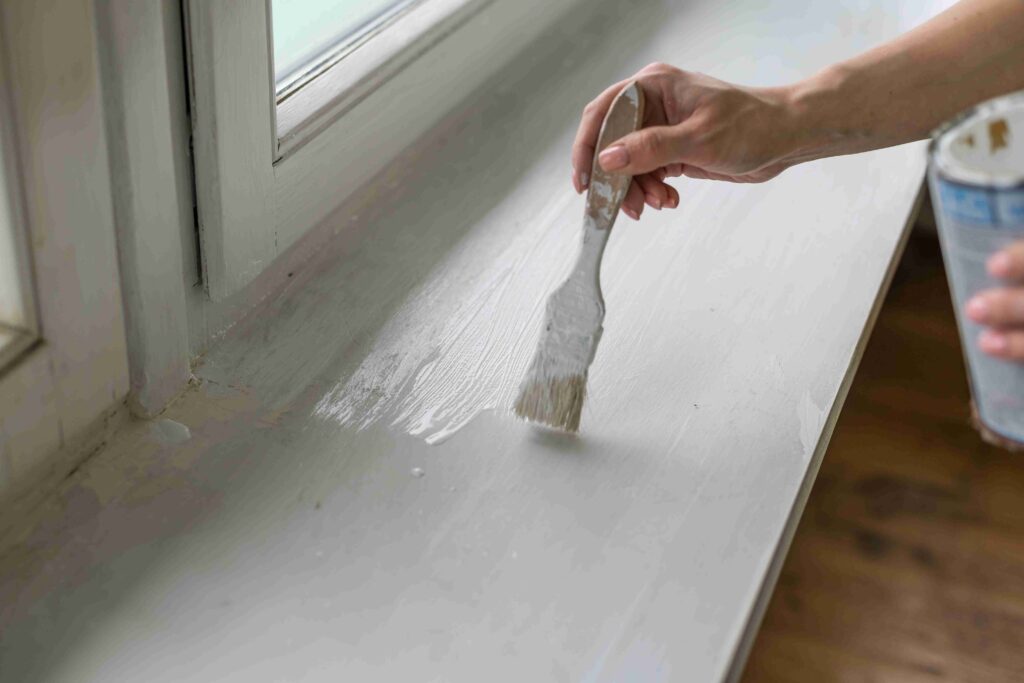
#4 Apply Paintable Caulk
Now you’re starting fresh.
Pick up a good-quality acrylic latex or siliconized acrylic caulk labeled as paintable. Cut the tip at a slight angle and apply a smooth, even bead along the seam.
Don’t rush. Move steadily and keep consistent pressure on the trigger.
Once it’s applied, smooth it with a damp finger or caulk tool to get a clean finish.
Then let it cure. Most paintable caulks need about 24 hours before painting, but check the label just to be sure. If you paint too soon, you can mess up the surface and trap moisture underneath.
#5 Prime
Priming might feel optional, but it’s not.
Primer helps seal the new caulk and creates a uniform surface so your paint looks consistent. Without it, you can end up with dull or flashing spots where the caulk absorbs paint differently than the surrounding wall.
Use a quality bonding primer and apply a thin, even coat. Let it dry according to the manufacturer’s instructions.
This step makes a big difference in how polished everything looks at the end.
Also Read: Can You Paint Eggshell Over Semi Gloss?
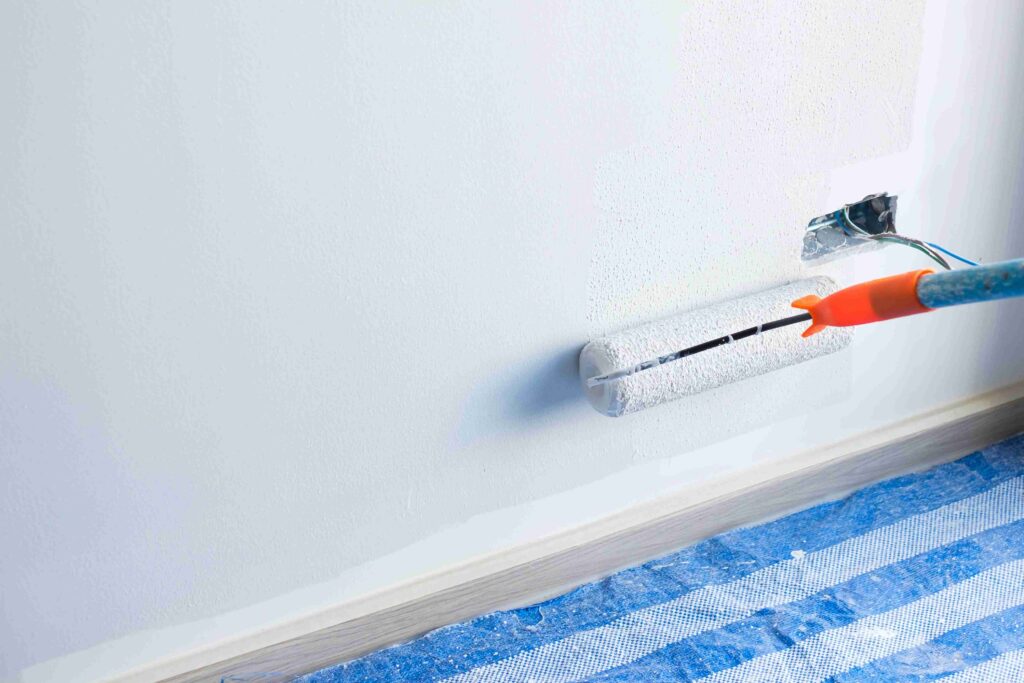
#6 Paint
Finally, the fun part.
Once the primer is dry, go ahead and paint as usual. Use a good brush for trim or a small roller for walls. Apply thin, even coats and allow proper drying time between them.
Most of the time, two coats will give you full coverage and a smooth finish.
At this point, everything should blend seamlessly.
If You Really Don’t Want To Remove It
Let’s say you absolutely do not want to cut out the silicone. Maybe it’s in a tight spot, or maybe you just don’t feel like dealing with it.
There is a workaround, but I’ll be honest – it’s not as reliable long term.
Here’s what you can try:
- Clean the silicone thoroughly with rubbing alcohol
- Lightly scuff the surface using very fine sandpaper (220 grit)
- Apply a high-adhesion bonding primer designed for slick surfaces
- Let the primer dry completely before painting
This can help the paint grip better, but silicone remains flexible underneath. Over time, you might notice cracking or peeling as the caulk moves.
If it’s a low-traffic area and you just need a quick cosmetic fix, this method can get you by.
For a permanent solution, removal is still the better route.
Some Pro Tips For Next Time
A little planning can save you from this whole situation down the road. Keep these in mind for future projects:
- Use paintable acrylic latex caulk on trim, baseboards, and walls
- Reserve 100% silicone for bathrooms, kitchens, and exterior waterproofing
- Always check the label before buying
- Let caulk cure fully before priming or painting
Silicone is fantastic for moisture protection. It’s just not made for painted surfaces. Matching the right caulk to the job makes everything easier.
Bottom Line
You can’t successfully paint over 100% silicone caulk. Paint won’t bond to it properly, and trying to force it usually leads to streaking, peeling, or cracking down the line.
The most reliable solution is to remove the silicone, clean the surface thoroughly, apply a paintable acrylic or siliconized latex caulk, prime it, and then paint.
That process takes a little extra effort, but it gives you a finish that looks seamless and holds up over time.
If you skip the removal and try to paint over silicone with primer alone, it might look decent at first, but there’s a real chance it won’t last.